前言
由于网上有很多 Next 主题 v6.0 之前版本的各种功能配置教程(需要修改主题原文件),但是很多功能在 v6.0 之后就直接被集成到 Next 主题中了(只需要通过修改配置),本文记录了本博客的 Next 主题的配置过程 ,为有兴趣搭建的朋友们提供参考。
Next配置
注意:在你站点的 hexo/source/_data 目录创建一个 next.yml 文件,用于覆盖Next主题目录下的 _config.yml 配置。这样做的好处在于:没有修改默认配置,以后主题升级更新更加方便。
设置Next展示Scheme
NexT 支持三种 Scheme,他们是:
- Muse - 默认 Scheme,这是 NexT 最初的版本,黑白主调,大量留白
- Mist - Muse 的紧凑版本,整洁有序的单栏外观
- Pisces - 双栏 Scheme,小家碧玉似的清新
在文件 next.yml 中添加如下内容:
1 | # Schemes |
设置 菜单
设定菜单内容,对应的字段是 menu。 设置展示分类页 、标签页 和关于页面 。
1 | menu: |
添加分类页页面:
1 | $ cd your-hexo-site |
编辑刚新建的页面,将页面的 type 设置为 categories ,主题将自动为这个页面显示分类。页面内容如下:
1 |
|
添加标签页页面:
1 | $ cd your-hexo-site |
编辑刚新建的页面,将页面的 type 设置为 tags ,主题将自动为这个页面显示标签云。页面内容如下:
1 |
|
设置新建文章模板带有分类、标签
在新建文章时,Hexo 会根据 scaffolds 文件夹内相对应的文件来建立文件。
修改 Hexo 目录下的 scaffolds\post.md 文件:
1 | --- |
安装静态资源插件
由于七牛云的测试域名被收回,导致托管于七牛云的图片都无法访问,迫不得已只能将图片也托管到 Github 中。安装 hexo-asset-image 插件,可以解决博文中图片路径不正确的问题。使用以下命令安装 hexo-asset-image :
1 | npm install hexo-asset-image --save |
设置头像
修改字段 avatar, 值设置成头像的链接地址。其中,头像的链接地址可以是:
| 地址 | 值 |
|---|---|
| 完整的互联网 URI | http://example.com/avatar.png |
| 站点内的地址 | 将头像放置主题目录下的 source/uploads/ (新建 uploads 目录若不存在) 配置为:avatar: /uploads/avatar.png或者 放置在 source/images/ 目录下 配置为:avatar: /images/avatar.png |
在文件 next.yml 中添加如下内容:
1 | avatar: |
设置网站图标
在文件 next.yml 中添加如下内容:
1 | favicon: |
效果如下:
![]()
设置代码高亮主题
NexT 使用 Tomorrow Theme 作为代码高亮,共有5款主题供你选择。 NexT 默认使用的是 白色的 normal 主题,可选的值有 normal,night, night blue, night bright, night eighties:
| normal | night | night blue | night bright | night eighties |
|---|---|---|---|---|
 |
 |
 |
 |
 |
在文件 next.yml 中添加如下内容:
1 | # Code Highlight theme |
设置侧边栏社交链接
侧栏社交链接的修改包含两个部分,第一是链接,第二是链接图标。
链接放置在 social 字段下,一行一个链接。
在文件 next.yml 中添加如下内容:
1 | # Social Links. |
设置打赏功能
只需要在文件 next.yml 中添加填入 微信 和 支付宝 收款二维码图片地址 即可开启该功能。
1 | # Reward |
设置友情链接
在文件 next.yml 中添加如下内容:
1 | # Blog rolls |
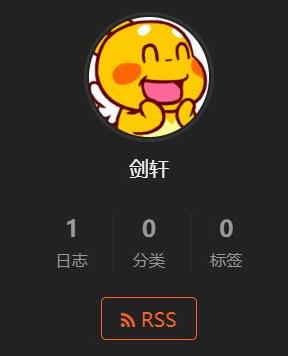
设置RSS
使用以下命令安装 hexo-generator-feed:
1 | $ npm install hexo-generator-feed --save |
保持_config.yml 文件中 rrs 的内容为空即可,效果如下:
设置博客页脚
设置站点建立时间
这个时间将在站点的底部显示,例如 © 2013 - 2015。在文件 next.yml 中添加如下内容:
1 | footer: |
设置页脚展示icon
默认情况下,页脚展示情况如下:

在文件 next.yml 中添加如下内容:
1 | footer: |
隐藏Hexo、Next相关信息
在文件 next.yml 中添加如下内容:
1 | powered: |
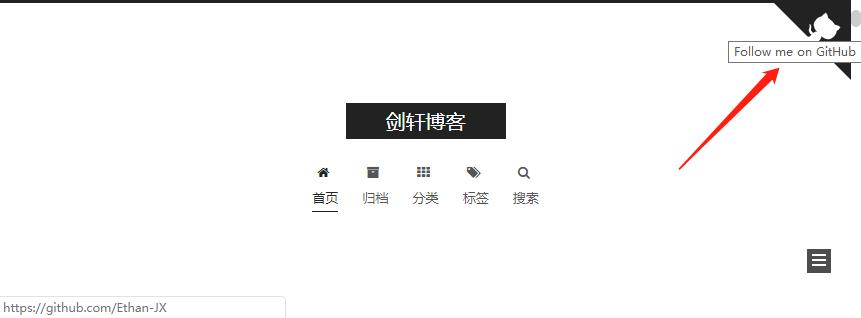
设置右上角Follow me on GitHub
在文件 next.yml 中添加如下内容:
1 | # Follow me on GitHub banner in right-top corner. |
效果如下:
设置CC协议
在文件 next.yml 中添加如下内容:
1 | # Creative Commons 4.0 International License. |
效果如下:
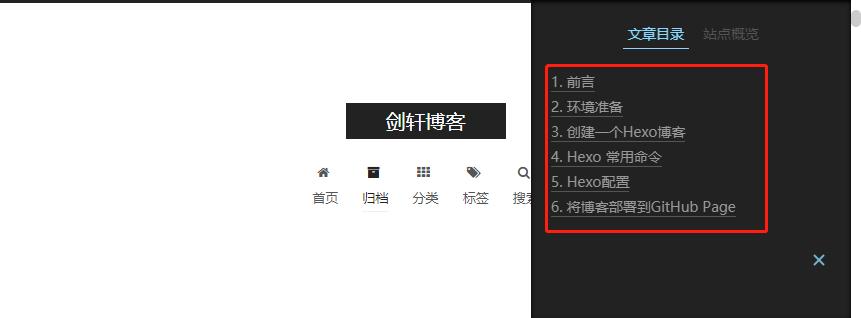
设置侧边文章目录展示
在文件 next.yml 中添加如下内容:
1 | # Table Of Contents in the Sidebar |
效果如下:
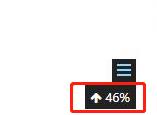
设置侧边栏
在文件 next.yml 中添加如下内容:
1 | sidebar: |
效果如下:
设置阅读全文不自动滚动
默认情况下,点击阅读全文链接后,会自动滚动到阅读全文之后的内容。在文件 next.yml 中添加如下内容:
1 | # Automatically scroll page to section which is under <!-- more --> mark. |
禁止该效果。
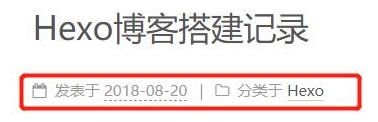
设置文章元数据展示
在文件 next.yml 中添加如下内容:
1 | # Post meta display settings |
效果如下:
设置字数统计和阅读时长
使用以下命令安装 hexo-symbols-count-time:
1 | $ npm install hexo-symbols-count-time --save |
在Hexo 目录下的 _config.xml 文件中添加如下代码:
1 | # 统计 |
在文件 next.yml 中添加如下内容:
1 | # Post wordcount display settings |
效果如下:


设置代码块copy功能
在文件 next.yml 中添加如下内容:
1 | codeblock: |
设置微信账号
在文件 next.yml 中添加如下内容:
1 | # Wechat Subscriber |
设置文章版权信息
在文件 next.yml 中添加如下内容:
1 | # Declare license on posts |
效果如下:

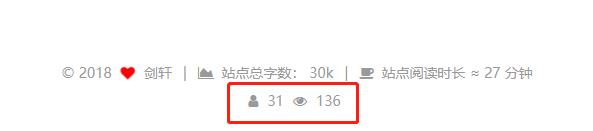
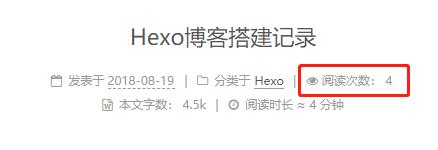
设置网站访问量统计
在文件 next.yml 中添加如下内容:
1 | # Show Views/Visitors of the website/page with busuanzi. |
效果如下:
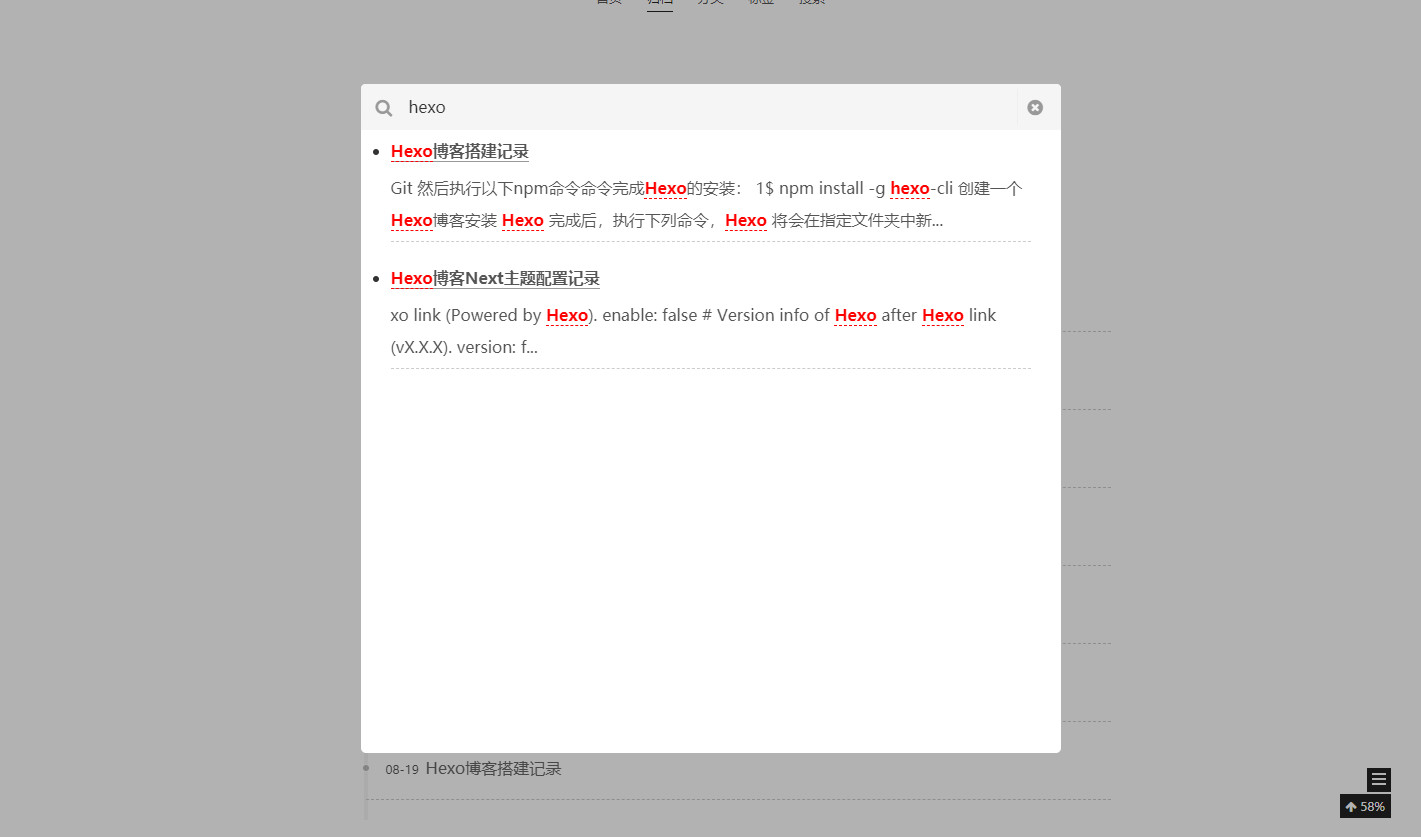
设置站内搜索
使用以下命令安装 hexo-generator-searchdb:
1 | $ npm install hexo-generator-searchdb --save |
在文件 next.yml 中添加如下内容:
1 | # Local search |
效果如下:
设置点击出现桃心效果
复制以下代码,保存为 love.js 文件。
1 | !function(e,t,a){function n(){c(".heart{width: 10px;height: 10px;position: fixed;background: #f00;transform: rotate(45deg);-webkit-transform: rotate(45deg);-moz-transform: rotate(45deg);}.heart:after,.heart:before{content: '';width: inherit;height: inherit;background: inherit;border-radius: 50%;-webkit-border-radius: 50%;-moz-border-radius: 50%;position: fixed;}.heart:after{top: -5px;}.heart:before{left: -5px;}"),o(),r()}function r(){for(var e=0;e<d.length;e++)d[e].alpha<=0?(t.body.removeChild(d[e].el),d.splice(e,1)):(d[e].y--,d[e].scale+=.004,d[e].alpha-=.013,d[e].el.style.cssText="left:"+d[e].x+"px;top:"+d[e].y+"px;opacity:"+d[e].alpha+";transform:scale("+d[e].scale+","+d[e].scale+") rotate(45deg);background:"+d[e].color+";z-index:99999");requestAnimationFrame(r)}function o(){var t="function"==typeof e.onclick&&e.onclick;e.onclick=function(e){t&&t(),i(e)}}function i(e){var a=t.createElement("div");a.className="heart",d.push({el:a,x:e.clientX-5,y:e.clientY-5,scale:1,alpha:1,color:s()}),t.body.appendChild(a)}function c(e){var a=t.createElement("style");a.type="text/css";try{a.appendChild(t.createTextNode(e))}catch(t){a.styleSheet.cssText=e}t.getElementsByTagName("head")[0].appendChild(a)}function s(){return"rgb("+~~(255*Math.random())+","+~~(255*Math.random())+","+~~(255*Math.random())+")"}var d=[];e.requestAnimationFrame=function(){return e.requestAnimationFrame||e.webkitRequestAnimationFrame||e.mozRequestAnimationFrame||e.oRequestAnimationFrame||e.msRequestAnimationFrame||function(e){setTimeout(e,1e3/60)}}(),n()}(window,document); |
方式一:将 love.js 存放于提供外链的云盘中;
方式二:将 love.js 放到路径/themes/next/source/js/src里面。
在文件 next.yml 中的 footer 添加如下内容:
1 | footer: |
效果如下:

修改文章底部的那个带#号的标签
修改模板/themes/next/layout/_macro/post.swig,搜索 rel="tag">#,将 # 换成<i class="fa fa-tag"></i>
效果如下:
![]()
设置自定义样式
注意:在你站点的hexo/source/_data目录创建一个styles.styl文件,用于自定义CSS样式。
在文件 next.yml 中添加如下内容:
1 | custom_file_path: |
这样就将默认的自定义样式文件从主题目录下的 source/css/_custom/custom.styl 改成了站点目录下的 source/_data/styles.styl ,这样的优势在于:没有修改主题默认配置,以后主题升级更新更加方便。
在文件 styles.styl 中添加如下内容:
1 | // 主页文章添加阴影效果 |