Hexo博客搭建记录

前言

本文记录了本博客的搭建过程,为有兴趣搭建的朋友们提供参考。

环境准备

首先,保证电脑已经安装以下软件:

  1. Node.js
  2. Git

然后执行以下npm命令命令完成Hexo的安装:

1
$ npm install -g hexo-cli

创建一个Hexo博客

安装 Hexo 完成后,执行下列命令,Hexo 将会在指定文件夹中新建所需要的文件。

1
2
3
$ hexo init <folder>
$ cd <folder>
$ npm install

新建完成后,指定文件夹的目录如下:

hexo项目目录结构

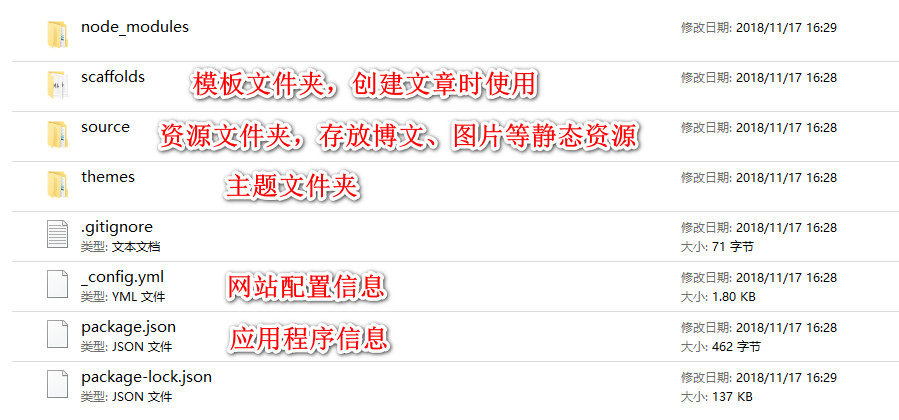
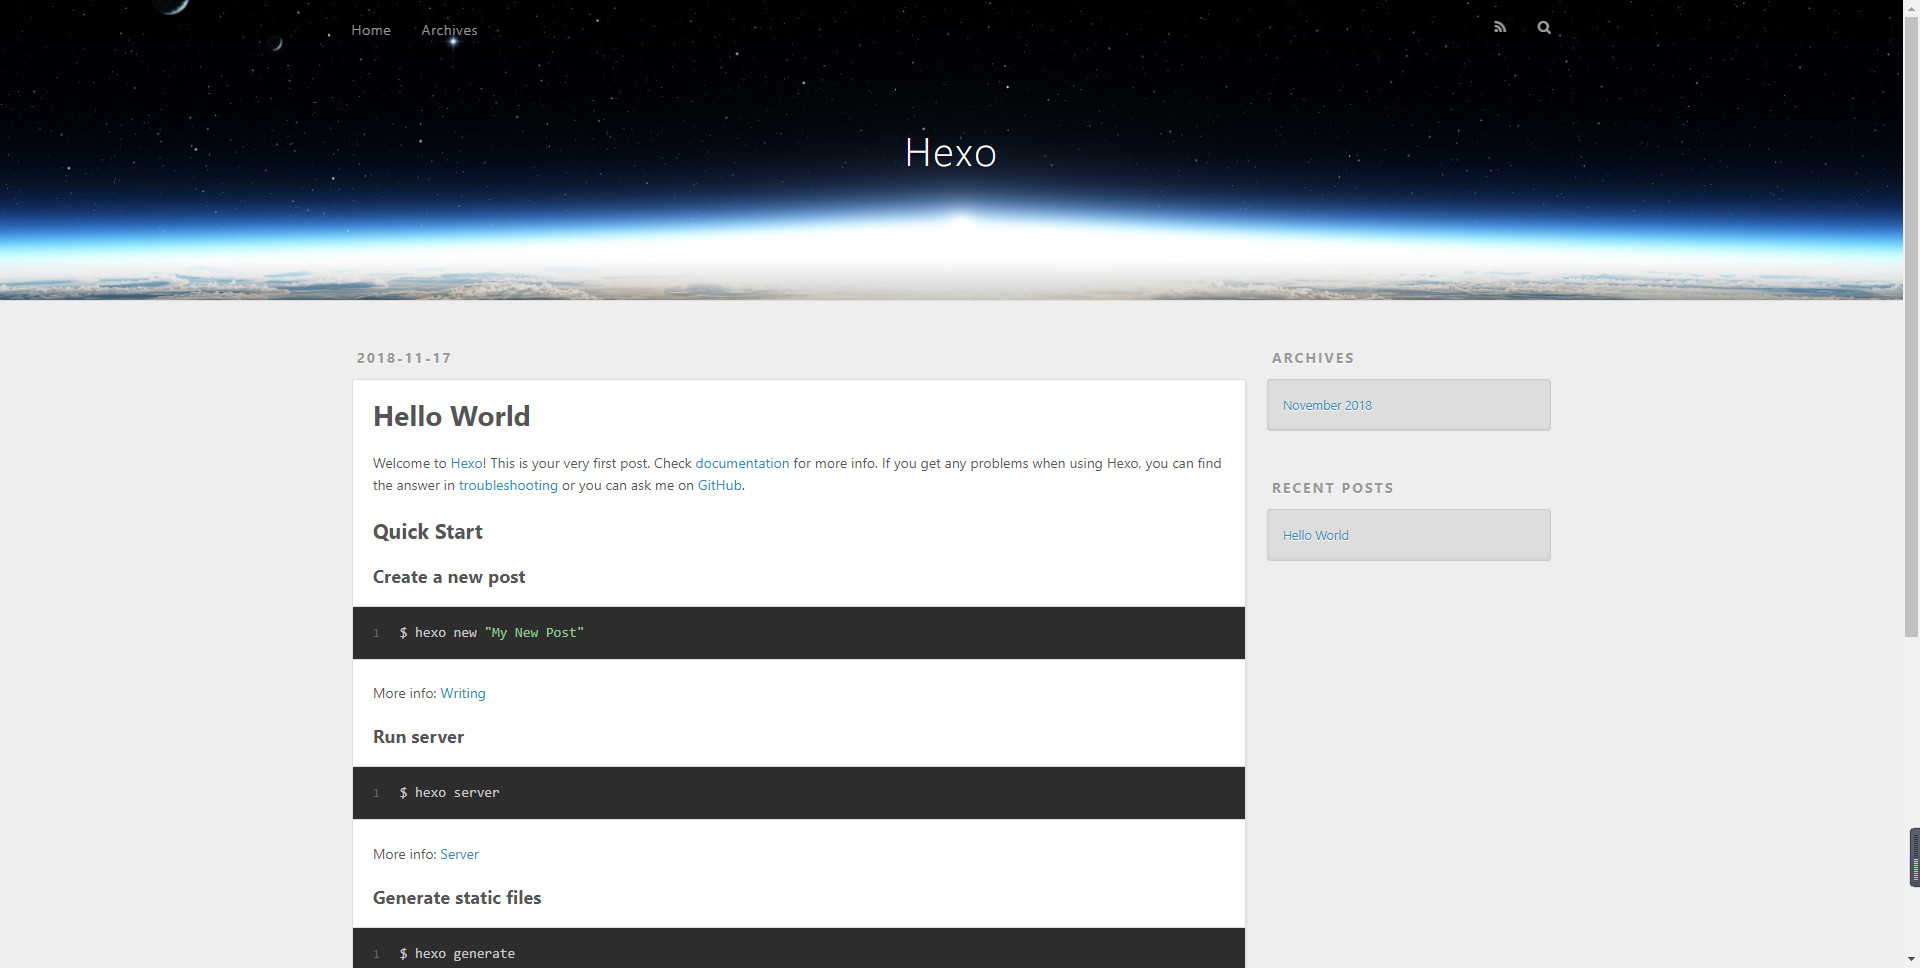
此时可以在指定的文件夹下,通过 hexo server 命令启动本地博客服务,或者使用简写命令 hexo s ,然后可以通过 http://localhost:4000/ 访问博客。

hexo启动访问页面

Hexo 常用命令

init

1
$ hexo init [folder]

新建一个网站。如果没有设置 folder ,Hexo 默认在目前的文件夹建立网站。

new

1
$ hexo new [layout] <title>

新建一篇文章。如果没有设置 layout 的话,默认使用 _config.yml 中的 default_layout 参数代替。如果标题包含空格的话,请使用引号括起来。

generate

1
$ hexo generate

生成静态文件,该命令可以简写为 :

1
$ hexo g

publish

1
$ hexo publish [layout] <filename>

发表草稿。

server

1
$ hexo server

启动服务器,该命令可以间写为:

1
$ hexo s

默认情况下,访问网址为: http://localhost:4000/

deploy

1
$ hexo deploy

部署网站。 该命令可以简写为:

1
$ hexo d

参数:

-g, –generate 部署之前预先生成静态文件

clean

1
$ hexo clean

清除缓存文件 ( db.json ) 和已生成的静态文件 ( public )。

在某些情况(尤其是更换主题后),如果发现您对站点的更改无论如何也不生效,您可能需要运行该命令。

Hexo配置

修改 _config.yml 中的配置如下:

1
2
3
4
5
6
7
8
9
10
11
12
13
14
15
16
17
18
19
20
21
22
23
24
25
26
27
28
29
30
31
32
33
34
35
36
37
38
39
40
41
42
43
44
45
46
47
48
49
50
51
52
53
54
55
56
57
58
59
60
61
62
63
64
65
66
67
68
69
70
71
72
73
74
75
76
77
78
79
80
81
82
83
84
85
86
87
88
89
90
91
92
93
94
95
96
97
98
99
100
101
102
103
104
105
106
107
108
109
110
# Hexo Configuration
## Docs: https://hexo.io/docs/configuration.html
## Source: https://github.com/hexojs/hexo/

# Site
## 网站标题
title: 剑轩博客
## 网站副标题
subtitle:
## 网站描述,用于搜索引擎SEO
description:
## 网站关键字,用于搜索引擎SEO
keywords:
## 作者昵称
author: 剑轩
## 网站语言,默认英语
language: zh-CN
## 时区,默认电脑时区
timezone: Asia/Shanghai

# URL
## If your site is put in a subdirectory, set url as 'http://yoursite.com/child' and root as '/child/'
url: https://ethan-jx.github.io/
root: /
## 文章链接地址格式,即文章存放的目录格式。
permalink: :year/:year-:month-:day-:title/
permalink_defaults:

# Directory
## 资源文件夹,放在里面的文件会上传到github中
source_dir: source
## 公共文件夹,存放生成的静态文件
public_dir: public
## 标签文件夹,默认是tags。实际存放在source/tags中
tag_dir: tags
## 档案文件夹,默认是archives。
archive_dir: archives
## 分类文件夹,默认是categories。实际存放在source/categories中。
category_dir: categories
## 代码文件夹,默认是downloads/code
code_dir: downloads/code
## 国际化文件夹,默认跟language相同
i18n_dir: :lang
## 不需要渲染的文件夹或文件夹,放在[]中
## 这两个文件是百度和google的站长验证文件,不能渲染,否则会改变内容,不能验证过
skip_render:

# Writing
## 新建博文的默认名称
new_post_name: :year-:month-:day-:title.md # File name of new posts
## 默认布局模板是post,而不是draft和page
default_layout: post
## 是否将标题转换成标题形式(首字母大写)
titlecase: false # Transform title into titlecase
## 在新标签页面中打开网页
external_link: true # Open external links in new tab
filename_case: 0
## 是否渲染草稿
render_drafts: false
## 启动 Asset 文件夹,创建文章时,并创建一个名字相同的文件夹,用于存放静态文件,如:图片。一般需要安装hexo-asset-image插件
post_asset_folder: true
## 把链接改为与根目录的相对位址
relative_link: false
## 显示未来的文章
future: true
## 代码块的设置
highlight:
enable: true
line_number: true
auto_detect: true # 自动检测语言
tab_replace:

# Home page setting
# path: Root path for your blogs index page. (default = '')
# per_page: Posts displayed per page. (0 = disable pagination)
# order_by: Posts order. (Order by date descending by default)
index_generator:
path: ''
per_page: 10
order_by: -date

# Category & Tag
default_category: uncategorized
category_map:
tag_map:

# Date / Time format
## Hexo uses Moment.js to parse and display date
## You can customize the date format as defined in
## http://momentjs.com/docs/#/displaying/format/
date_format: YYYY-MM-DD
time_format: HH:mm:ss

# Pagination
## Set per_page to 0 to disable pagination
per_page: 10
## 分页路径,在public中可以看到
pagination_dir: page

# Extensions
# 主题配置
## Plugins: https://hexo.io/plugins/
## Themes: https://hexo.io/themes/
theme: landscape

# Deployment
# 部署配置
## Docs: https://hexo.io/docs/deployment.html
deploy:
type:

将博客部署到GitHub Page

创建一个User Pages的项目

在自己的GitHub账号下创建一个新的仓库,命名为username.github.io(username是你的账号名), 比如我的仓库地址为 ethan-jx.github.io 。

补充

User Pages 与 Project Pages的区别是:

  1. User Pages 是用来展示用户的,而 Project Pages 是用来展示项目的。
  2. 用于存放 User Pages 的仓库必须使用username.github.io的命名规则,而 Project Pages 则没有特殊的要求。
  3. User Pages 将使用仓库的 master 分支,而 Project Pages 将使用 gh-pages 分支。
  4. User Pages 通过 http(s)://username.github.io 进行访问,而 Projects Pages通过 http(s)://username.github.io/projectname 进行访问。

配置静态博客git部署

安装git部署插件

使用以下命令安装 hexo-deployer-git:

1
$ npm install hexo-deployer-git --save

发布配置

修改 _config.yml 配置。

1
2
3
4
5
deploy:
type: git
repo: https://github.com/Ethan-JX/ethan-jx.github.io.git
branch: master
message: update deploy

部署

1
2
3
$ hexo clean	#清楚缓存和已经生成的静态文件
$ hexo g #生成静态文件
$ hexo d #部署

配置Next主题

下载Next主题

在终端窗口下,定位到 Hexo 站点目录下。使用 Git checkout 代码:

1
2
$ cd your-hexo-site
$ git clone https://github.com/theme-next/hexo-theme-next themes/next

设置Next主题

与所有 Hexo 主题启用的模式一样。 当 克隆/下载 完成后,打开 站点配置文件, 找到 theme 字段,并将其值更改为 next

1
theme: next

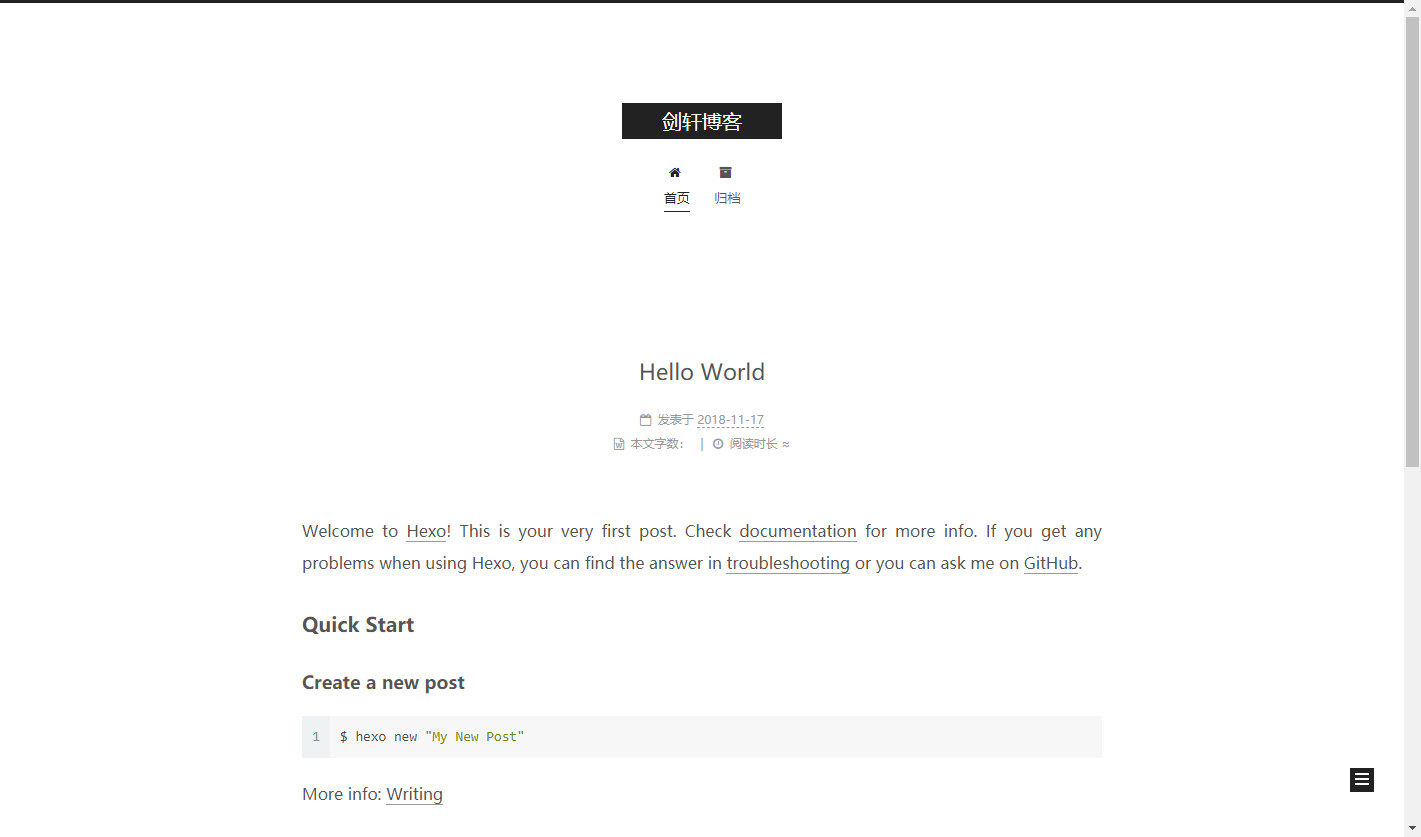
到此,NexT 主题安装完成。 启动Hexo本地站点,发现博客的主页已经变成以下界面:

next主题

如果喜欢, 请给我加个🍗~
0%